
When I exhibit Build Your Music, I like to make it as hands-on as possible. The main attraction is always the robotic xylophone itself, with popular songs pre-loaded. People will select a song from the list, and play it, and for many that’s all they want to see. But I have always wanted people to appreciate the educational value of my project. My ultimate goal is not just to show off what I have created, but to cultivate interest and teach others the skills so that they can build projects similar to mine.
When I was at one Maker Faire, I brought a few extra Arduino Uno boards, to set out on the table, just so that I could show people that tiny “computer” that makes the robotic xylophone run. I couldn’t count the number of times that a child would see the Arduino board, and reach out to pick it up, and his/her mother or father would say, “No, no, don’t touch.” I would always have to say, “It’s OK to touch. This is for kids to learn.”
But that experience got me thinking that I really needed to be more intentional about making my Arduino demonstrations hands-on. Yes, the robotic xylophone is fun to listen to, but I want people to appreciate the parts that are inside that make it work. I want visitors to be inspired to create their own Arduino projects, and know that they can do things that are really cool. I needed a lab that a child could put together fairly quickly, and yet still result in something interesting when they were done.
That was my inspiration for the Arduino Music Lab. This lab consists of the following:
- An 8-note, 1-octave, diatonic C-to-C xylophone, with mallets and solenoids controlled by a Motor Driver Shield and Arduino Uno programmed as a Slave.
- A separate Master Arduino Uno that has already been programmed with a few simple songs that can be played on the 1-octave diatonic xylophone.
- An I2C LCD, Rotary Encoder, and Jumper wires to connect these pieces to the Master Arduino Uno.
Doing the lab is simple. The student just connects the LCD and Rotary Encoder to the Arduino Uno and powers it up. If they did everything right, the LCD will display text, and they will be able to turn the rotary encoder to change the song.
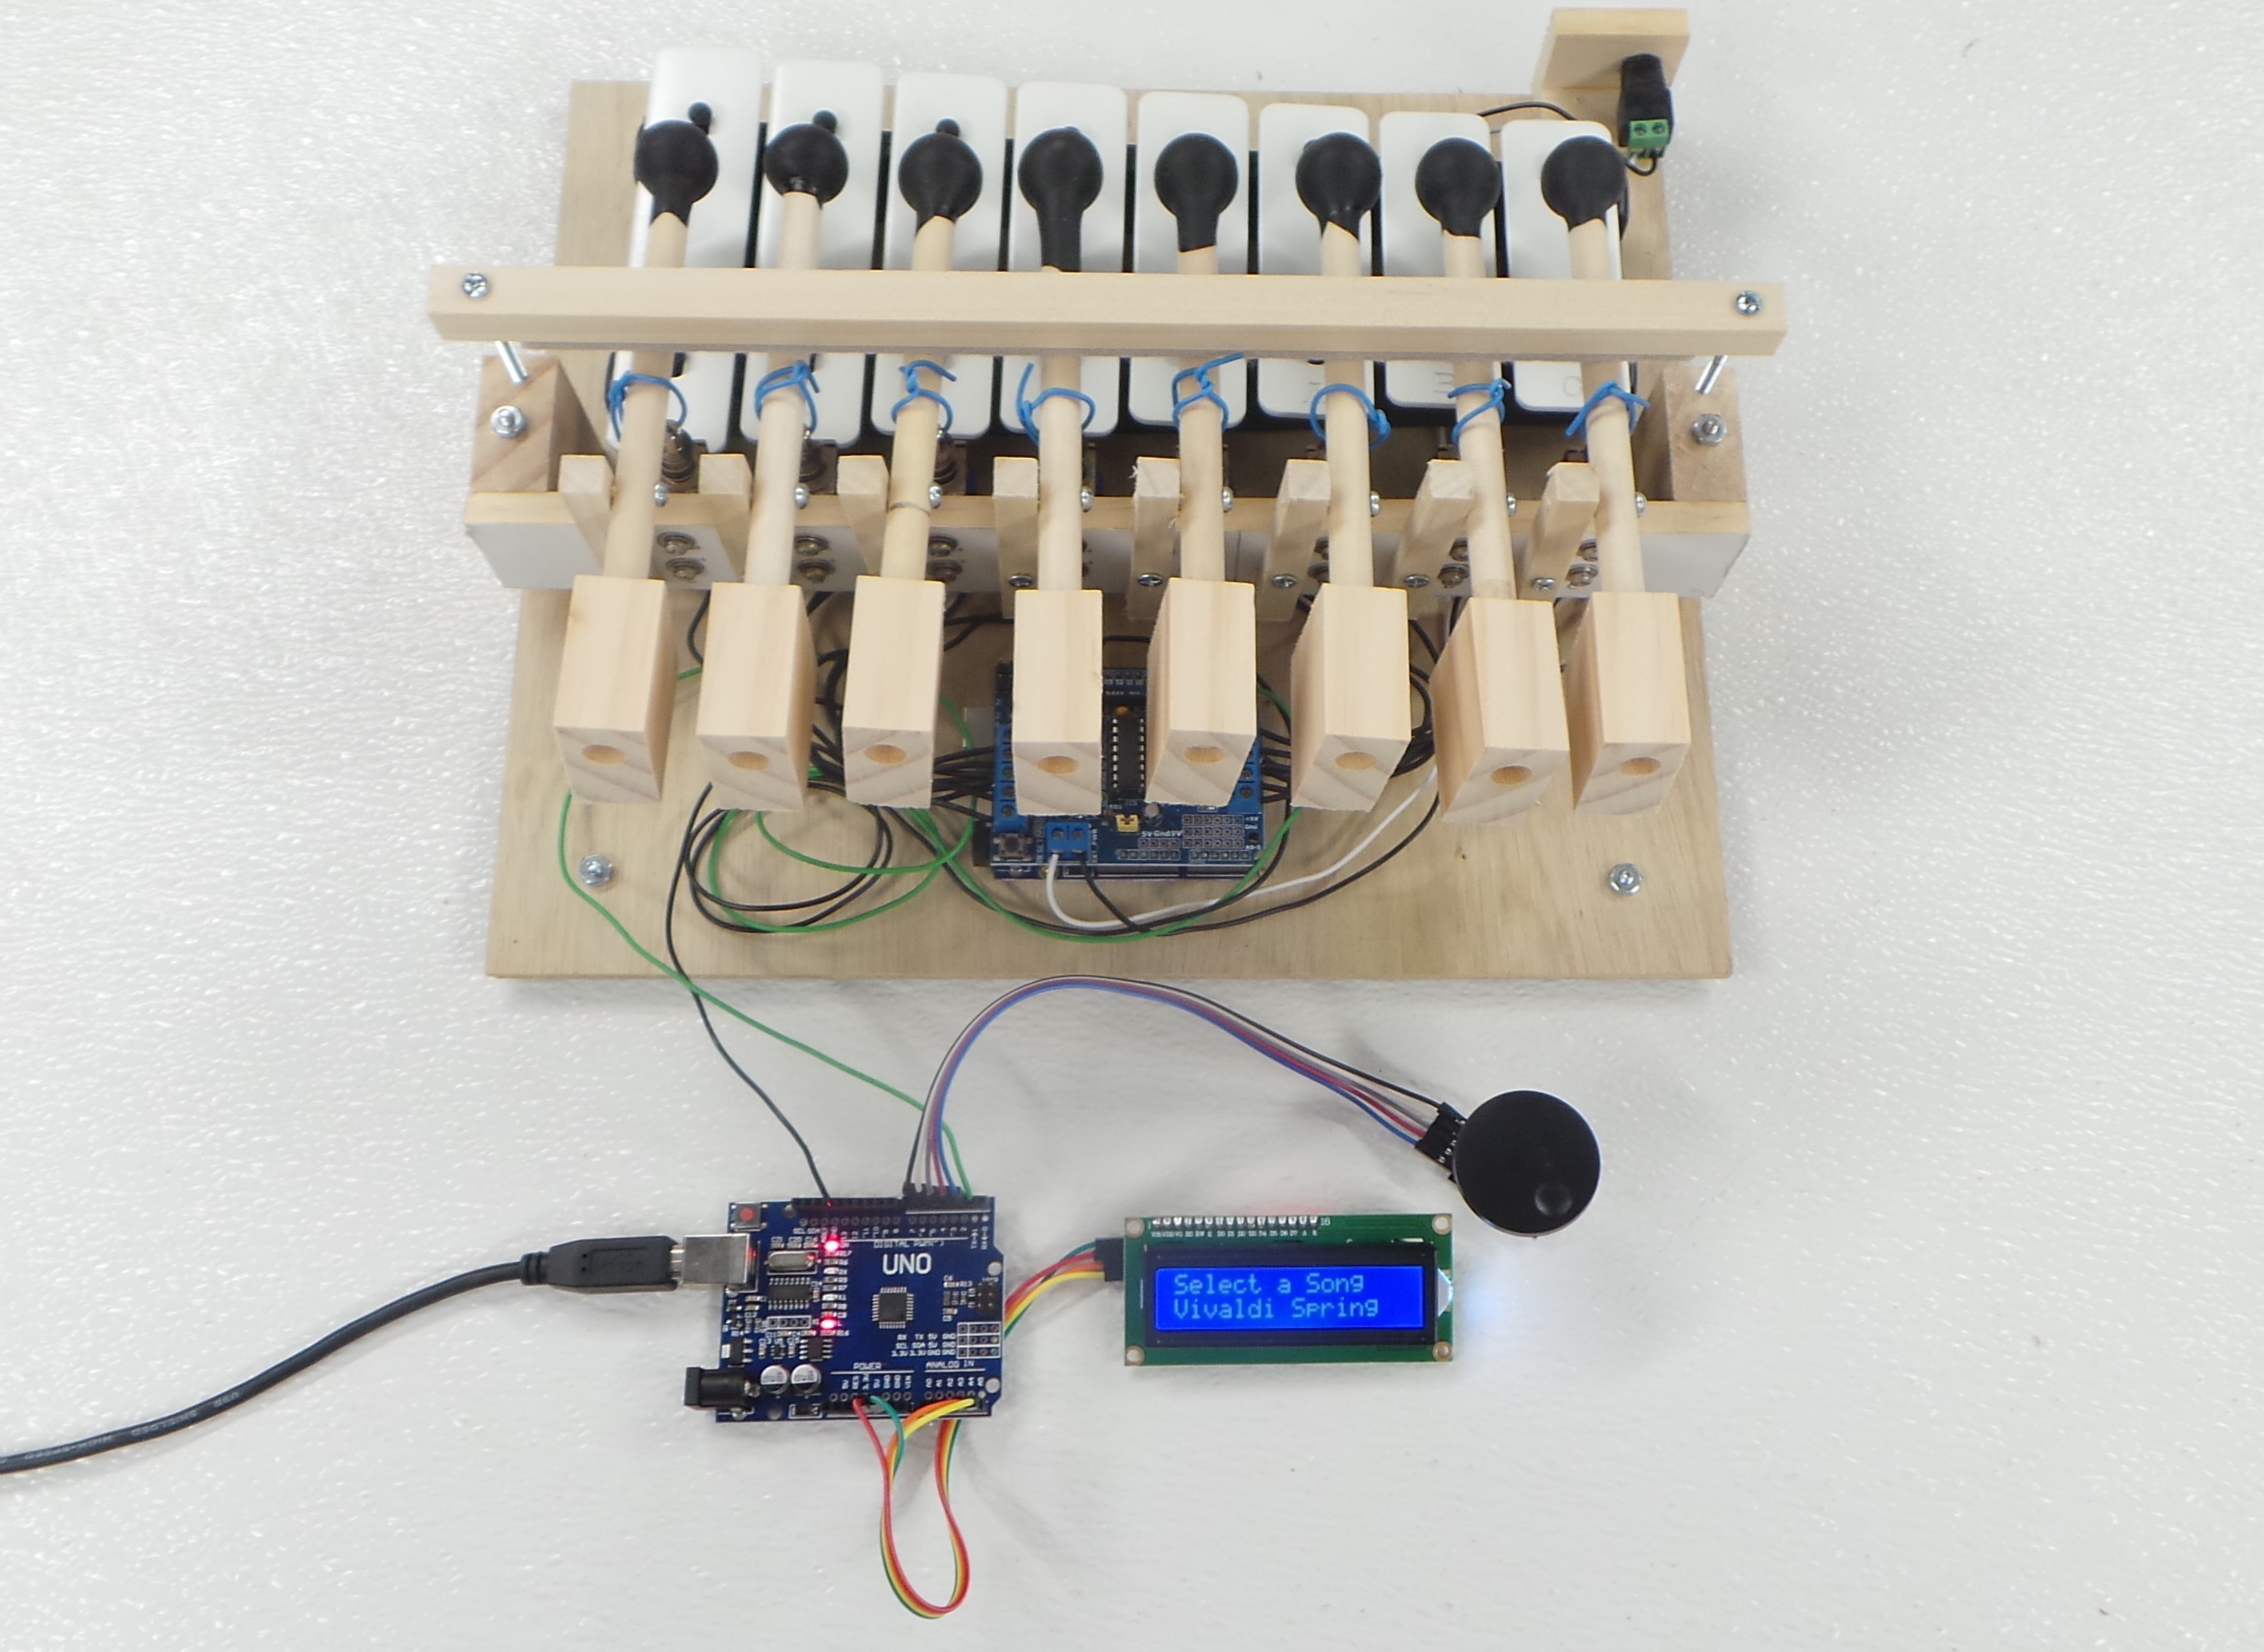
At that point, the student connects their first Arduino Uno, to the xylophone / solenoid / motor driver assembly, and clicks the Rotary Encoder button to play a song. Success will be the xylophone playing the selected song. The completed Music Lab looks like below:
For details on this lab, click the following links:
